
❓How to Use the AI Configuration Tool in Propio
The AI Configuration feature allows you to teach Propio how you’d like certain transactions to be categorized automatically. This is especially useful when you notice that a transaction is being miscategorized, or if you simply prefer it to fall under a different chart of account.
Here’s a step-by-step walkthrough using a practical example:
✅ Step 1: Identify the Transaction
Go to the Transactions section from the main menu.
Select the appropriate client.
Find a transaction you want Propio to categorize differently.
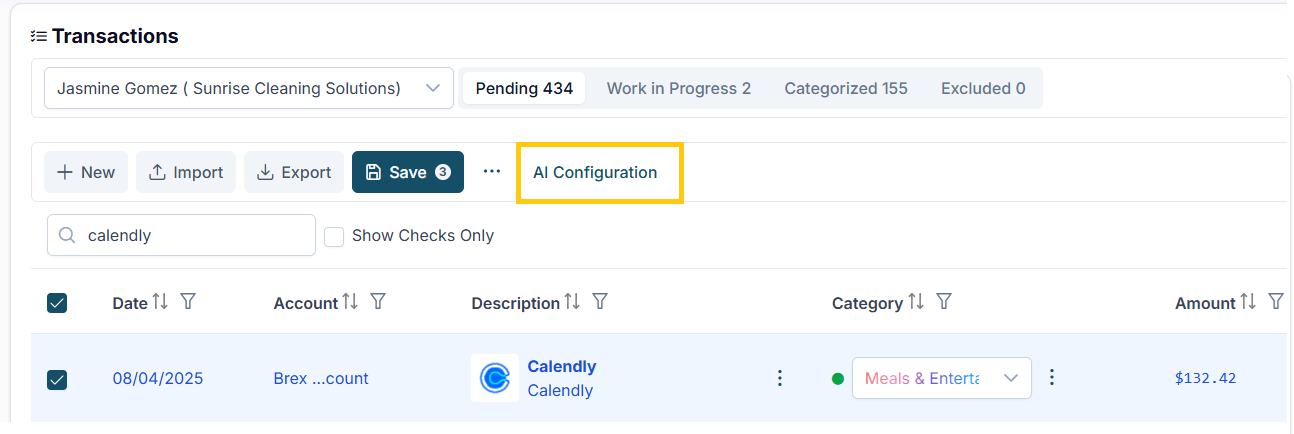
In this example, we’ll use a transaction from Calendly, which is currently categorized as Office Supplies.Copy the vendor name or a part of the description for use in the next step.
🧠 Step 2: Open AI Configuration
While still in the Transactions screen, go to the top right, next to the Save button.
Click on AI Configuration.
📝 Step 3: Create the Instruction
In the white input box that appears, paste the vendor name or description you copied earlier.
Type your instruction like this:
Vendor/Description Categorized as New category.Calendly Categorized as Meals.💡 Propio understands both English and Spanish, so feel free to write the instruction in either language.
Make sure your sentence starts with a capital letter and ends with a period.
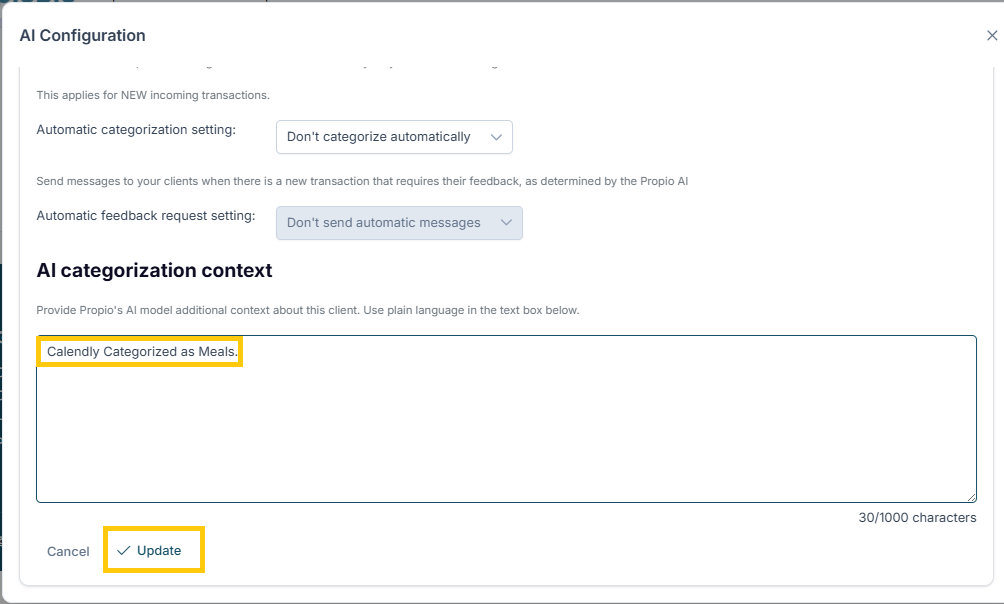
Click the Update button.
You’ll see a green success message confirming that the rule has been saved.
🔄 Step 4: Apply the AI Suggestion
Refresh the entire browser page (e.g., click the refresh button in your browser or press F5).

Once the page reloads:
Use the search bar to find the transactions matching the vendor name or description you configured.
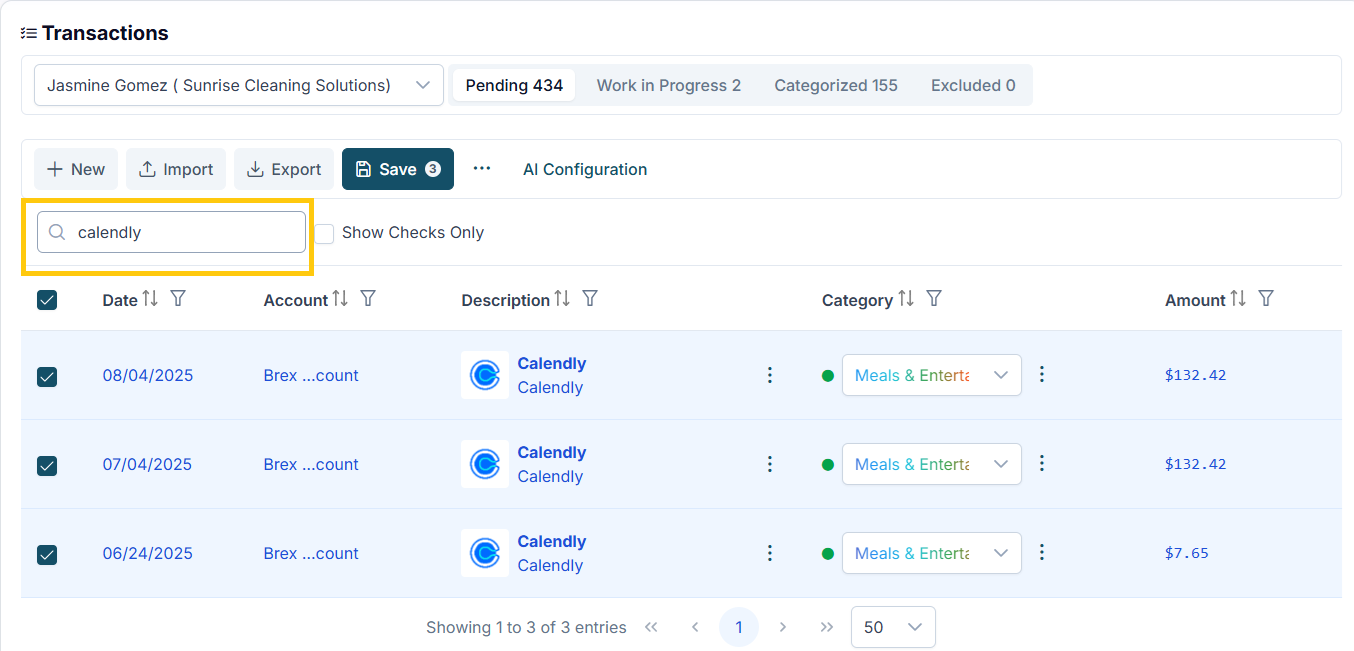
Select the transactions in bulk by clicking the checkbox to the left of the "Date" column.

Click on the three-dot menu (⋯) and choose AI Suggest.
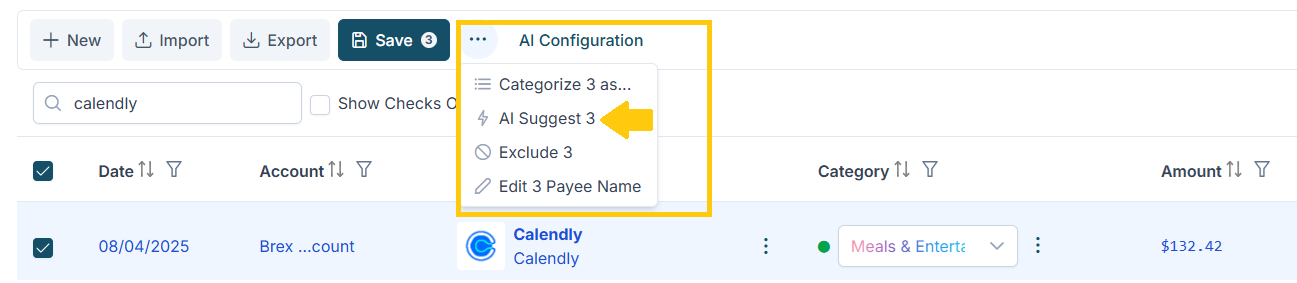
A number will appear showing how many transactions will be updated using the AI rule.
You’ll see that the category updates automatically for the selected transactions.
💾 Step 5: Save the Changes
After verifying that the updates look correct, click the Save button to categorized the transactions.
Note: Any changes made through AI Configuration will be automatically applied to new transactions that come in from the bank.
For transactions that are already in the system, you’ll need to search for them manually and use AI Suggest to apply the updated configuration.